I came across my first ever examples of some really good stereo photographs within the last week. Now as a youngster I remember the old view-master stuff that we used to see kids with, that used the discs of small slides but these were little better than toys compared to the sight of good kodak slide film through a proper viewer.

These were stereo photos taken in the mid to late sixties. They must have been taken with something like the stereo realist camera shown below, the left and right lenses formed the image on the slide film and the middle lens was used for focusing like a rangefinder camera.
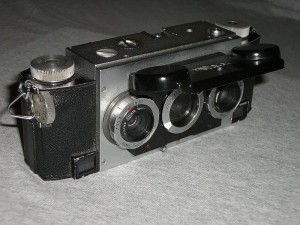
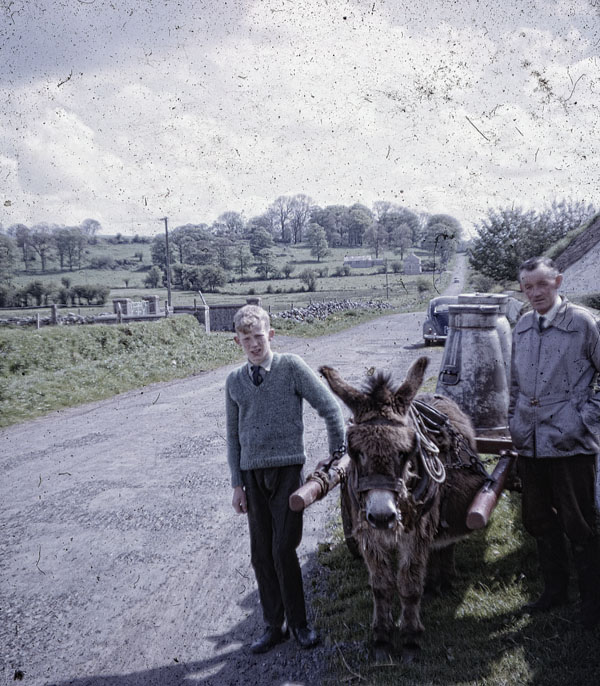
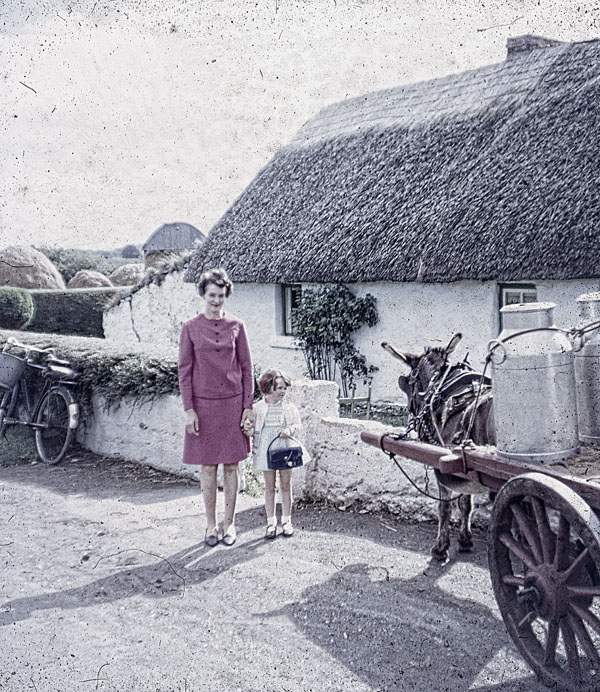
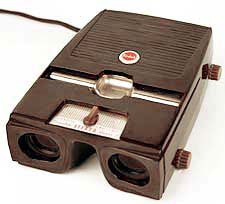
It was amazing to see the 3d stereo effect created by using the special viewer which the owner of the photos had sourced, it came complete with inbuilt focus adjustment and background lighting in the viewer. The photos consisted of 2 slides, shot side by side with the stereo camera, the slides then fitted into the viewer with one for each eye. You had to pay particular attention to fitting the slides into the viewer turned in the correct manner (After one or two boggle-eyed experiences I spotted the little notation of the front of each slide) and the 3d effect was phenomenal. Even though some of the shots were in poor enough condition, badly marked and scratched, when fitted into the viewer they really came to life and you soon ignored the dust and scratches.
After getting my first look at these, I started researching stereo imaging and have stumbled across some nice digital camera add-ons which I may well have a look at to experiment with later.
I was asked to have a look at retouching some of the old slides, and having received some of the scans to have a look at, they proved to be failry badly marked and scratched, with some fungus even growing on them resulting in poor enough quality scans. We did some test runs to see if the client was going to be happy with our results, I’ve posted a couple of these before and after images below.
Run your mouse over the images below to see some of the results.
